Luxury Vinyl Plank (LVP) Installation in Portland, Augusta & Naples, ME
Luxury Vinyl Plank (LVP) installation in
Portland, Augusta & Naples, ME
involves a structured interior flooring process that focuses on substrate preparation, layout planning, waterproof flooring system integration, and controlled plank assembly. Sloan Flooring
performs LVP installation work using measured sequencing methods designed to ensure consistent alignment, stable surface performance, and proper expansion control across residential interior environments. Each installation is executed in a step-by-step format where subfloor condition, room geometry, and material behavior are assessed before any planks are installed.
Project Assessment and Interior Floor Planning
LVP installation begins with a structured assessment of the interior space to determine layout direction, material requirements, and installation method selection based on subfloor type and room usage.
Room Measurement and Layout Structuring
Accurate measurements are taken to establish how luxury vinyl planks will be distributed across the installation area.
Perimeter Mapping and Dimensional Recording
Wall-to-wall dimensions are documented to create a controlled layout grid that supports consistent plank placement.
Structural Feature Identification
Fixed elements such as cabinetry, door frames, and transitions are marked to ensure accurate fitting during installation.
Flooring Direction and Design Flow Setup
Plank orientation is determined based on room shape and interior flow requirements.
Natural Light Alignment Planning
LVP boards are often aligned with primary light sources to maintain a uniform visual surface appearance.
Seam Placement Distribution
Joint placement is staggered to avoid continuous seam alignment and maintain structural balance across the floor surface.
Subfloor Preparation and Moisture Conditioning
Subfloor preparation is essential for LVP installation because surface irregularities and moisture conditions directly affect plank stability and locking integrity.
Surface Condition Evaluation
The existing floor base is inspected for flatness, stability, and compatibility with vinyl plank systems.
Height Variation Detection
Any uneven areas are identified to prevent plank movement or visible surface inconsistencies after installation.
Structural Stability Verification
Loose or compromised subfloor sections are secured before underlayment or plank installation begins.
Moisture Level Assessment
Because LVP is a moisture-resistant flooring system, subfloor moisture control still plays a critical role in long-term performance.
Vapor Movement Evaluation
Moisture levels are measured to determine whether additional barriers or sealing layers are required.
Substrate Dryness Stabilization
Environmental conditions are adjusted where necessary to ensure proper adhesion and plank performance.
Underlayment and Base Layer Configuration
Depending on product type, LVP installation may include an underlayment layer that supports sound control, surface cushioning, and minor subfloor correction.
Integrated Base Layer Placement
The underlayment or attached backing system is positioned across the full installation area.
Seam Continuity Alignment
Underlayment sections are joined carefully to maintain a continuous base surface without overlap or gaps.
Surface Impact Reduction Layering
This layer helps reduce noise transmission and provides a more stable walking surface.
Waterproof Barrier Configuration
Some installations include additional moisture protection layers depending on subfloor composition.
Moisture Isolation Placement
A vapor-resistant layer is installed where required to reduce upward moisture migration.
Edge Sealing Integration
Perimeter edges are managed to ensure continuous barrier performance throughout the installation area.
Luxury Vinyl Plank Installation Process
LVP installation uses either click-lock floating systems or glue-down methods depending on product specifications and subfloor conditions.
Starter Row Alignment and Positioning
The first row establishes the directional control and spacing for the entire installation.
Straight Edge Calibration Setup
The starter row is carefully aligned to maintain consistent distance from wall boundaries.
Expansion Space Management
Controlled spacing is maintained along perimeter edges to allow for natural material movement.
Sequential Plank Assembly
Planks are installed in a structured row-by-row sequence that maintains alignment across the full surface.
Click-Lock Engagement System
Each plank is mechanically interlocked with adjacent boards using precision edge connections.
Row Offset Pattern Structuring
Seams are staggered to distribute stress and maintain a balanced surface appearance.
Glue-Down Installation Method (When Applicable)
In certain environments, adhesive-based installation is used for increased stability.
Adhesive Spread Control
Glue is applied in measured sections to ensure consistent bonding across the subfloor.
Pressure Bond Activation
Planks are pressed into place to ensure full surface contact with the adhesive layer.
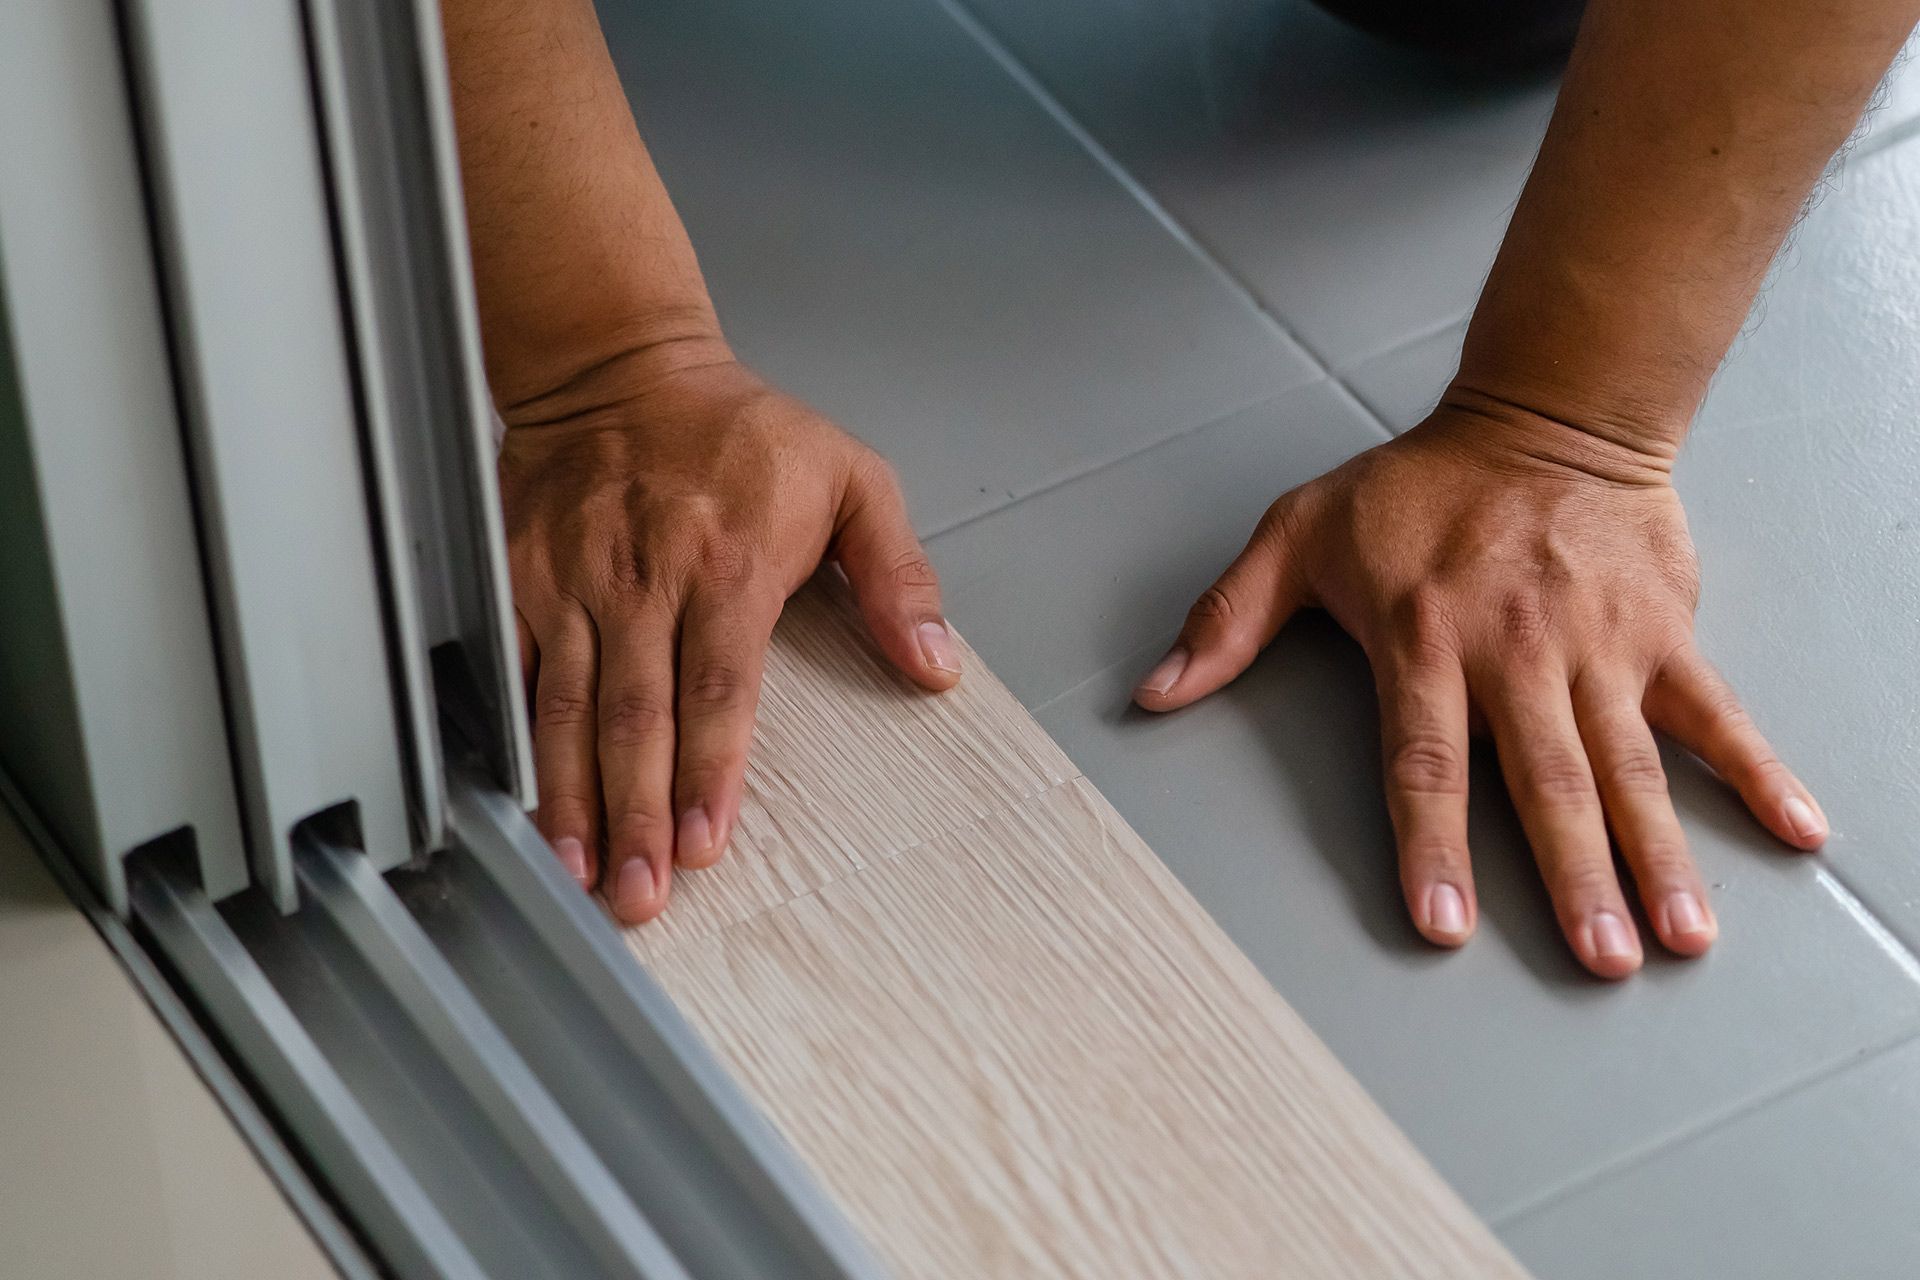
Cutting, Fitting, and Edge Adaptation
Interior spaces often require precise adjustments to ensure LVP fits accurately around architectural features.
Perimeter Cutting and Shaping
Edge planks are trimmed to match wall contours and fixed interior structures.
Wall Interface Fitting
Planks are cut to maintain consistent spacing while fitting tightly against vertical surfaces.
Doorway and Threshold Adjustments
Transitions between rooms are carefully shaped to ensure smooth flooring continuity.
Irregular Space Accommodation
Rooms with non-standard layouts require customized plank adjustments.
Angle Correction Fitting
Boards are modified to fit angled walls or architectural design features.
Fixture Integration Alignment
Flooring is adjusted around built-in fixtures to maintain consistent surface coverage.
Finishing Systems and Transition Installation
Once plank installation is complete, finishing elements are applied to complete the flooring system and connect adjacent surfaces.
Transition Strip Installation
Transition components are installed where LVP meets other flooring materials.
Height Matching Adjustment
Transitions are selected based on elevation differences between flooring surfaces.
Movement Tolerance Integration
Transition systems allow controlled movement between flooring zones without surface disruption.
Edge Finishing and Trim Installation
Perimeter edges are completed using trim components that conceal expansion gaps.
Wall Perimeter Coverage
Base trim elements are installed to provide a clean interface between flooring and walls.
Corner and Joint Completion
Corners and edge intersections are finished to maintain consistent flooring lines throughout the space.
Environmental and Regional Installation Factors in Portland, Augusta & Naples, ME
LVP installation in
Portland, Augusta & Naples, ME is influenced by seasonal temperature changes and indoor humidity fluctuations that can affect subfloor conditions and installation timing.
Seasonal Interior Climate Variation
Indoor conditions shift throughout the year due to heating and cooling cycles.
Winter Heating Impact
Dry indoor air during colder months can influence subfloor moisture balance.
Summer Humidity Response
Increased humidity levels may affect subfloor preparation timing and installation scheduling.
Residential Layout Considerations
Interior flooring systems must adapt to a variety of room configurations in residential properties.
Open Concept Floor Alignment
Large open spaces require consistent plank direction to maintain visual continuity.
Multi-Room Transition Planning
Flooring systems are structured to maintain seamless movement between connected rooms and hallways.
Luxury Vinyl Plank installation is a structured interior flooring process that depends on precise subfloor preparation, controlled plank assembly, and properly managed transitions. Each stage contributes to the stability and consistency of the finished flooring system in residential properties throughout
Portland, Augusta & Naples, ME.