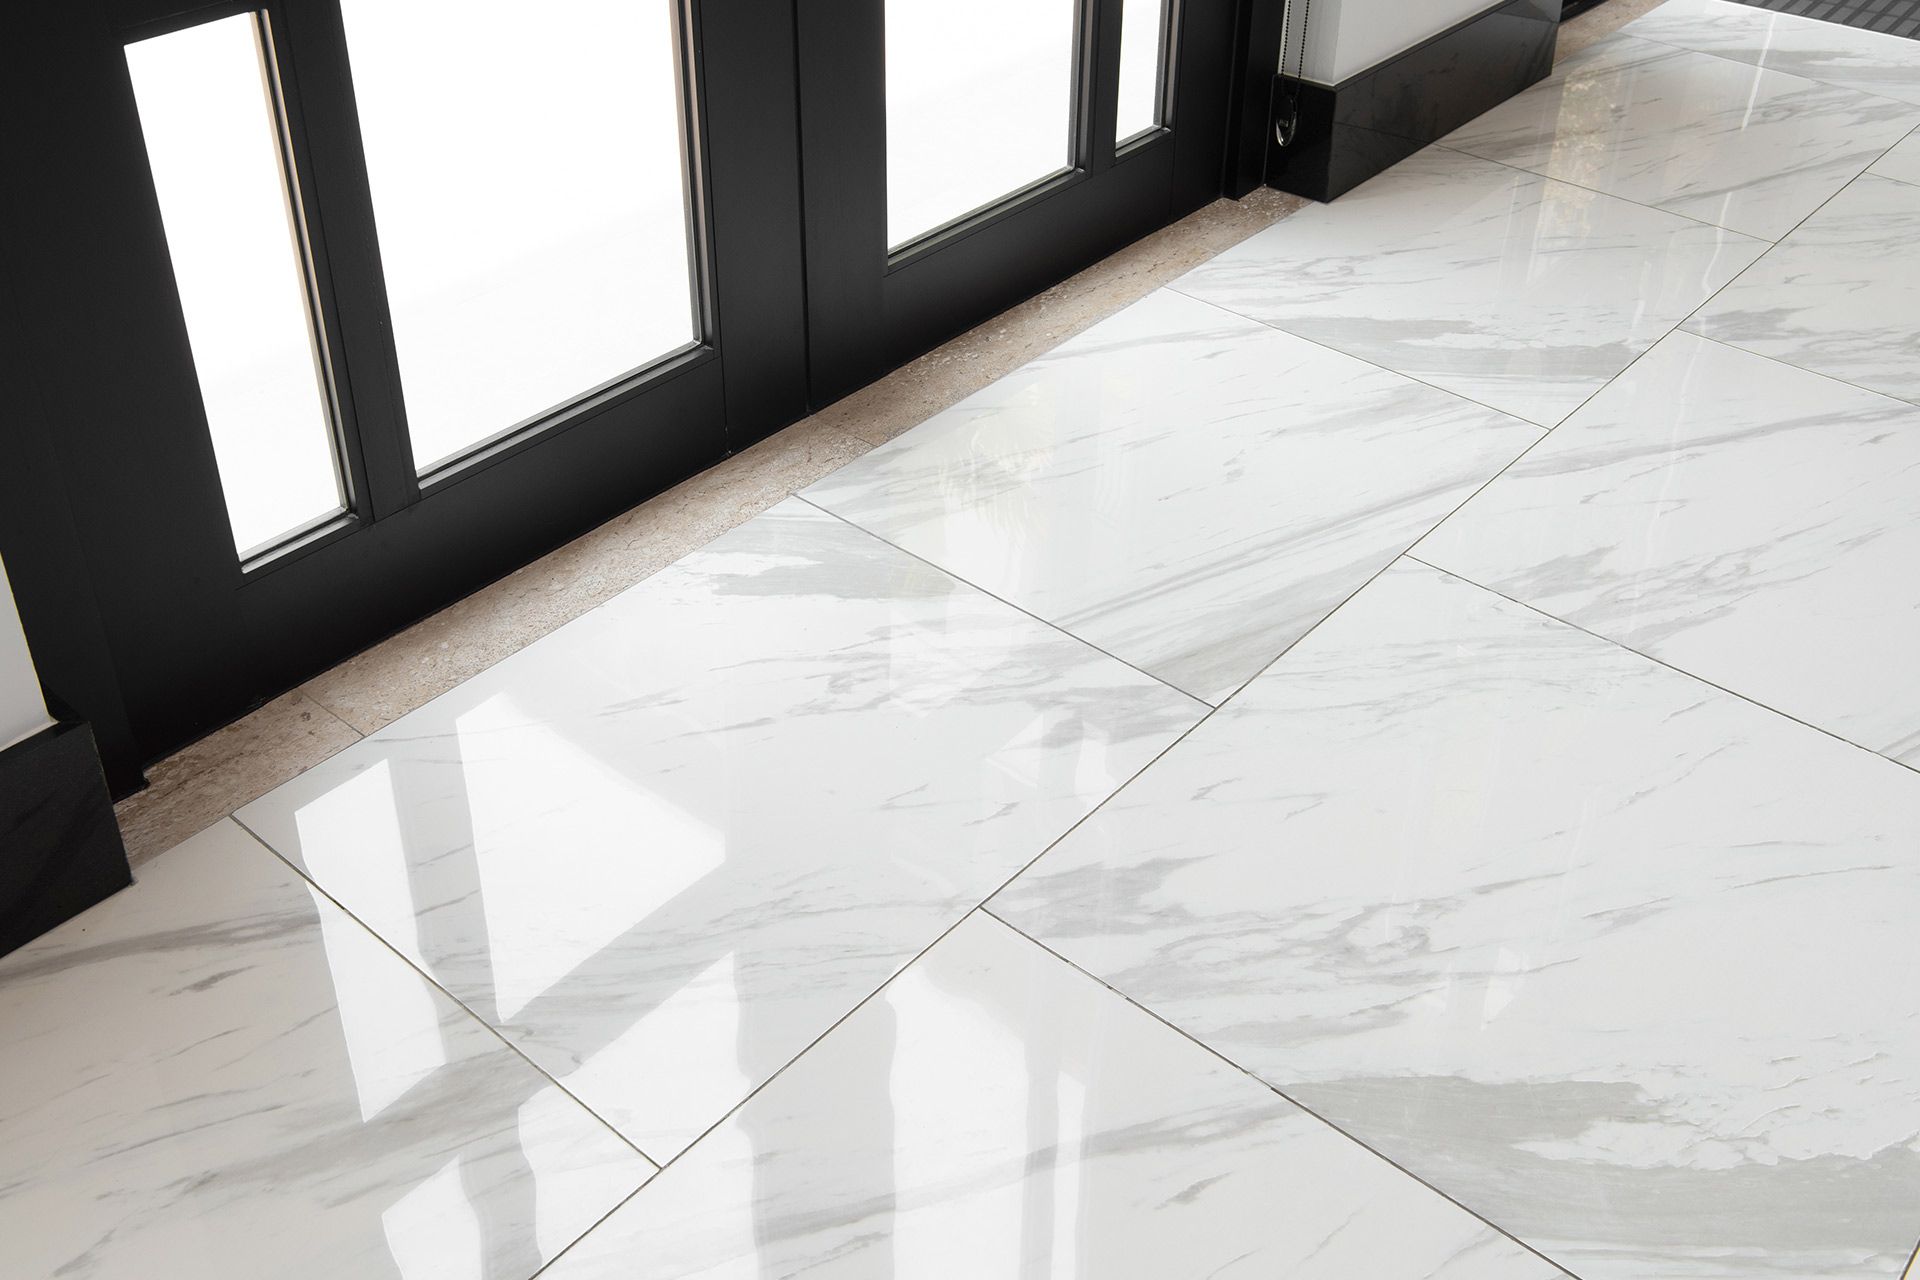
Tile Flooring Installation in Portland, Augusta & Naples, ME
Tile flooring installation in
Portland, Augusta & Naples, ME
involves a structured interior construction process that includes subfloor evaluation, surface leveling, tile layout planning, adhesive application, and controlled grout finishing. Sloan Flooring
performs tile flooring installation using measured techniques designed to ensure alignment accuracy, consistent spacing, and stable bonding across residential interior surfaces. Each installation follows a defined sequence where substrate condition, tile type, and room geometry are assessed before any tile is set into place.
Project Planning and Tile Layout Design
Tile installation begins with detailed planning of the layout to determine how tiles will be positioned across the floor surface, including seam placement, pattern direction, and edge alignment.
Room Measurement and Grid Structuring
Accurate measurements are taken to establish a layout grid that guides tile placement across the entire installation area.
Wall-to-Wall Dimension Mapping
Each room is measured carefully to determine total tile coverage and layout symmetry across the space.
Centerline Establishment Process
A reference centerline is created to guide tile placement and ensure balanced distribution of cuts along room edges.
Tile Pattern and Orientation Setup
Tile direction and pattern configuration are determined before installation begins.
Pattern Alignment Structuring
Tile patterns such as straight lay or offset layouts are positioned to maintain consistent visual flow.
Symmetry Balancing Across Space
Layout adjustments are made to avoid narrow edge cuts and maintain balanced tile distribution across all sides of the room.
Subfloor Preparation and Surface Leveling
Subfloor preparation is essential in tile flooring installation because tiles require a rigid, flat, and stable base to prevent cracking or uneven surfaces.
Structural Base Evaluation
The existing floor surface is inspected for movement, cracks, and height variations.
Surface Flatness Assessment
Uneven areas are identified to ensure tile adhesion remains consistent across the installation area.
Structural Integrity Verification
Weak or damaged subfloor sections are repaired or stabilized before tile work begins.
Leveling Compound Application
Where necessary, leveling materials are applied to create a uniform installation surface.
Low Area Filling Process
Depressions in the subfloor are filled to achieve a consistent height across the entire floor.
Surface Smoothing Technique
Leveling compounds are spread and refined to create a flat installation plane for tile placement.
Tile Adhesive Application and Bonding System
Tile installation requires a bonding layer that secures tiles to the subfloor while maintaining consistent spacing and alignment.
Thinset Mortar Preparation
A mortar base is prepared to serve as the primary adhesive layer for tile installation.
Consistency Mixing Control
Mortar is mixed to achieve proper thickness and adhesion strength for floor application.
Workable Application Timing
Adhesive is applied in controlled sections to prevent premature drying before tile placement.
Tile Setting and Placement Process
Tiles are placed into the adhesive bed following the established layout grid.
Pressing and Seating Technique
Each tile is pressed into position to ensure full contact with the adhesive layer beneath.
Level Alignment Adjustment
Tile height is continuously monitored to maintain a flat, even surface across the floor.
Tile Cutting, Fitting, and Edge Adaptation
Interior spaces often require tile adjustments to accommodate walls, fixtures, and architectural features.
Precision Tile Cutting Process
Tiles are cut to fit specific areas where full tiles cannot be used.
Straight Edge Cutting Method
Tiles are trimmed along measured lines to ensure accurate fit along perimeter edges.
Curved and Irregular Shaping
Special cuts are made for areas around pipes, corners, and structural irregularities.
Perimeter and Threshold Integration
Edges and transitions are carefully managed to ensure smooth connections between flooring surfaces.
Wall Interface Fitting
Tiles are adjusted to maintain consistent spacing along vertical surfaces.
Doorway Transition Alignment
Tile edges are aligned with transition strips to ensure smooth movement between rooms.
Grouting and Surface Sealing Process
Grouting is the stage that locks tile placement into a unified surface while filling gaps between individual tiles.
Grout Application and Joint Filling
Grout is applied across tile joints to create a continuous and sealed surface.
Joint Penetration Control
Grout is worked into all spacing areas to ensure full coverage between tiles.
Excess Material Removal
Surface grout residue is cleaned to maintain a smooth tile finish.
Sealing and Protection Layer
Once grout has cured, sealing may be applied depending on tile material type.
Moisture Resistance Enhancement
Sealants are used to reduce water absorption in grout lines and porous tile surfaces.
Surface Durability Reinforcement
Sealing improves long-term resistance to staining and wear in high-use areas.
Finishing, Inspection, and Surface Stabilization
Final steps ensure that tile installation is fully aligned, stable, and visually consistent across the entire surface.
Surface Level Inspection
The completed tile floor is checked for alignment and uniformity.
Height Variation Detection
Any uneven tile edges are identified and corrected if necessary.
Joint Consistency Review
Grout lines are inspected to ensure even spacing and complete filling.
Final Cleaning and Surface Preparation
The installed tile surface is cleaned to remove installation residue.
Residual Material Removal
Dust, grout haze, and adhesive traces are cleared from tile surfaces.
Final Surface Conditioning
The floor is prepared for normal use once curing and cleaning are complete.
Environmental and Regional Installation Considerations in Portland, Augusta & Naples, ME
Tile flooring installation in
Portland, Augusta & Naples, ME is influenced by seasonal climate changes and indoor environmental conditions that affect subfloor moisture levels and curing times.
Seasonal Temperature and Moisture Variation
Indoor conditions shift throughout the year, influencing adhesive curing and material stability.
Cold Weather Indoor Drying Conditions
Lower temperatures can slow adhesive curing and require controlled installation timing.
Humidity Impact on Bonding Materials
Higher moisture levels can affect drying consistency and surface bonding strength.
Residential Layout Adaptation
Tile flooring systems must be adapted to varied residential interior layouts and usage patterns.
Multi-Room Flow Coordination
Tile alignment is managed across connected spaces to maintain visual continuity.
High-Moisture Area Considerations
Areas such as kitchens and entryways require additional attention to sealing and surface durability.
Carpet installation in
Portland, Augusta & Naples, ME is a structured flooring process that depends on accurate measurement, controlled padding installation, precise stretching, and detailed finishing work. Each stage contributes to the final surface quality and long-term stability of carpeted residential interiors.